Today, I’m going to show you how to create a layout for lives on Youtube and other digital platforms that is compelling and conveys credibility.
A good layout can hold the attention of the audience and still convey, in a more humanized and clear way, the content of your event, reinforcing, for example, its visual identity.
Surely you have seen some lives on Youtube or other digital platforms in which the speakers shared the computer screen with the audience or that only used the camera, appearing in the foreground, without mirroring computer content, right?
But did you know that it is possible to make your live online streaming or prerecorded broadcast look more professional?
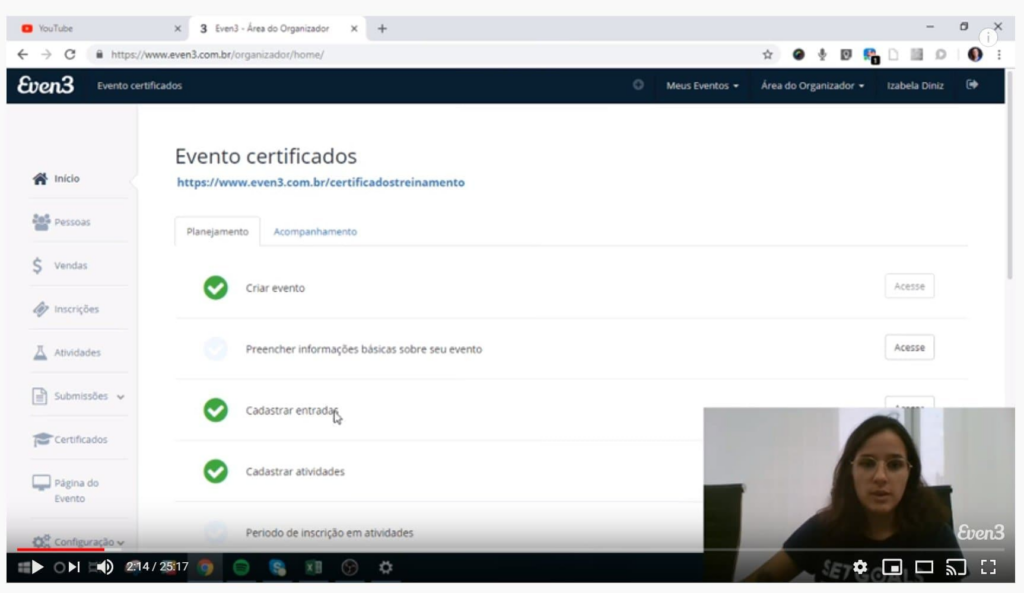
You can go from a video with a fairly common and widely used aspect like this one:
To a video with a much more professional aspect, like this one:
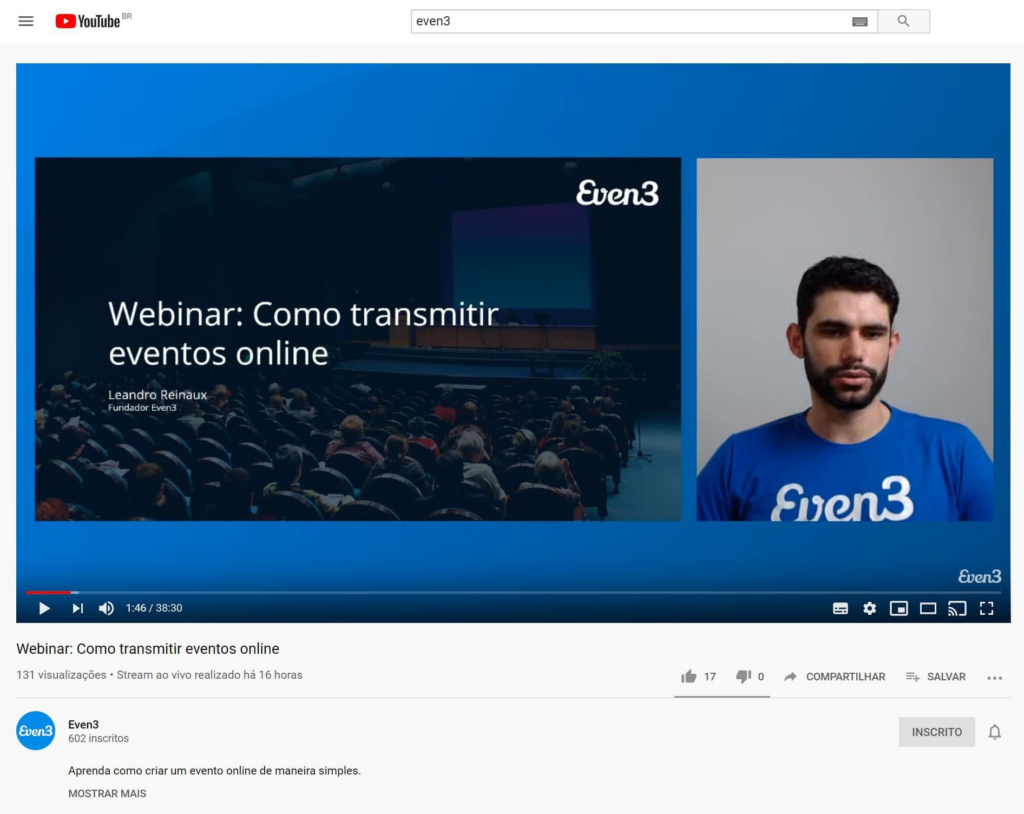
In the second example, the presenter formatted the layout so that the highlight was still the content of the slides, but in order to maintain the humanization of the webinar, he left a space for the camera to continue broadcasting himself.
A simple choice like this can even facilitate the understanding of the content passed on by the speaker. It is much easier to get attendees to focus on what is being said and shared with his presence on the screen.
The blue background was chosen to give greater emphasis to the broadcast. In addition, it dialogues with the colors of the company and also with the slideshow, making the transmission more harmonious and professional.
How to create a professional-looking layout for lives on Youtube
To set up a layout like the one in the previous example for your live, it is necessary that the transmission is carried out through a computer.
In case you can only stream via mobile, this tutorial will not work.
You will need the following resources to build your custom layout:
1. A background image
2. Webcam or laptop camera
3. Slides with the content of the lecture
4. Streaming Software, such as OBS Studio or Streamyard.
We also have a full Streamyard walkthrough, a simpler to use and super dynamic tool. Be sure to check it out and safely choose the best broadcast software for your event.
Background image
The background image is a good opportunity to highlight your live.
In this image, you can use the logo of the event and sponsors, messages and more.
To create the background image, you can use an editing software like Photoshop or Canva. Or use a ready-made Image by searching Google Images for the term “Gradient 1080p”, followed by the main color of your brand (blue, green, red…).
This way, the background dialogues with the brand and also makes the environment “cleaner”, without the accumulation of visual information.
The optimal background image size is 1920 x 1080 pixels.
Camera
Eye contact is very important when it comes to speaking in public and it is no different when we are talking about videos.
Although it is normal and also recommended that the speaker looks at the slides from time to time, it is essential that they also look at the webcam lens and smile during the presentation, approaching the audience.
Framing and lighting are essential at these times as they give a more professional look to your live.
I have separated some essential tips regarding the aspects “framing and lighting”.
Framework
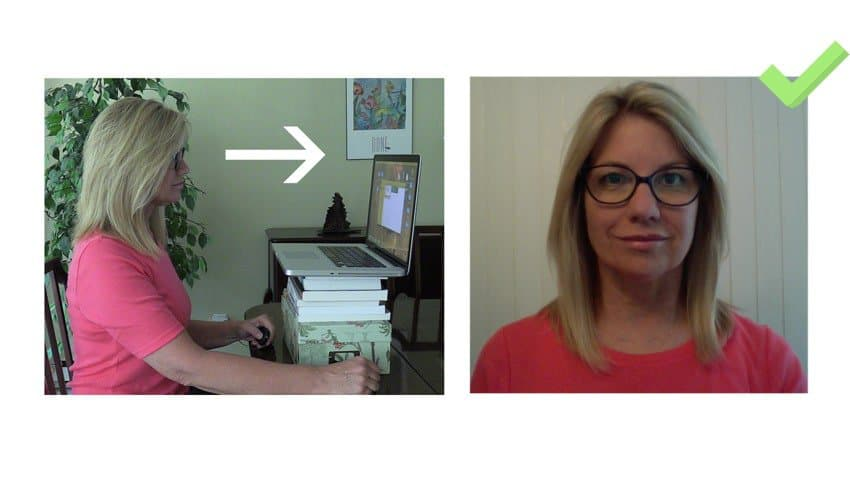
In case you are using a laptop for the live, avoid looking at it “from top to bottom”, like the following image.

In cinema, this kind of angle “from top to bottom” is called a contra-plongée. This framing ends up delivering a feeling of superiority in relation to those who are watching and does not look cool visually speaking.
I believe you don’t want to pass on that feeling on to your attendees, correct?
The solution is simple: raise the webcam to your eye level or even slightly above it. Try stacking a few books under the laptop or even lowering the chair.
Lighting
Know that even a fantastic camera will struggle to produce a good quality image in a low-light environment.
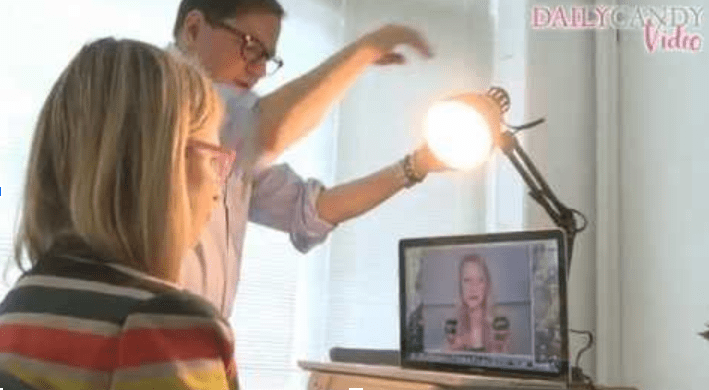
So the tip is to position a lamp behind the computer so that your face is well lit when recording lives for Youtube.
In case your streaming is in the morning, you can position yourself facing a window!
Slides
If you are only going to use the slide show during the online streaming of the event, we recommend using PowerPoint.
However, if you also plan to demo on the internet using the browser, we recommend that you use Canva or Google Slides because they already work inside the browser.
This saves you from searching for the files while streaming.
Setting up streaming software: OBS Studio
First, you will need to install the OBS Studio software.
Click here to install OBS Studio. The software is available for Windows, Mac and Linux.
Step 1: Add a background image
Open the OBS Studio software and add your chosen background image as per the instructions below:
1– On the Fonts section, click on the option +
2 – Choose the option “image”
3 – Choose a name, example: “background image”
4 – Choose the image from your computer and click OK
Step 2 – Prepare the slides
In this example, we will use PowerPoint.
First you need to configure the slides so that the presentation does not stay in full screen.
This will make it easier for you to follow the live comments while they’re happening.
1 – Open PowerPoint and go to the “Slide Show” Tab
2 – Click on “set up Slideshow”
4 – Choose the option “present by one person”
5 – Place to present the slides
Attention, you cannot minimize this screen, because if you do this, the slides will disappear from the broadcast.
So, do not minimize anything!
Step 3 – Add the slides
The next step to creating the lives layout for Youtube is to set up OBS Studio so that slides can appear in your broadcast. Just add a new item on the screen:
1 – Click on the + button
2 – Choose The Capture Window option
3 – Add A title, example: Slides
3 – Choose your presentation window
4 – decrease the size by clicking and dragging the Red Dot to the corner
5 – Click in the middle of the presentation and drag to the position you want
Step 4 – Add the camera
Now, we will add the camera. Remembering the tips we’ve mentioned before: we want a professional look in our live, right?
1 – Click the +button
2 – Choose Video Capture Device option
3 – Add a title, example: Webcam
4 – decrease the size by clicking and dragging the Red Dot to the corner
5 – Click in the middle of the presentation and drag it to the position you want
Step 5 – Final adjustments to your Youtube live Layout
You can remove or crop some parts of the camera and slides to increase the presentation area and make your content stand out more.
To do this, just hold the ALT key when resizing the image.
By following these tips, you will give your presentation a more professional and also attractive look. Combined with quality content, I guarantee that your online streaming will be a great success!