Long lines at the door, impatient attendees, and an overwhelmed check-in team: that’s a common scenario at events that still rely only on manual check-in.
But the good news is that technology already offers a simple and effective solution for this problem: self-check-in.
Increasingly used at conferences, trade shows, and corporate events, self-check-in lets attendees check themselves in quickly. Want to know how to put this into practice? Keep reading!
What is self-check-in and how does it work?
Basically, self-check-in is a system that lets attendees check in quickly and independently, without facing long lines or relying directly on a staff member.
It works as a smarter version of traditional check-in, combining technology and autonomy to make entry to the event smoother.
In practice, self-check-in works as follows:
- Tablets or computers are logged into self-check-in screens. These screens are made available by any check-in system with a self-check-in feature, like Even3.
- The devices are placed at the event’s entrances, working as self-check-in kiosks.
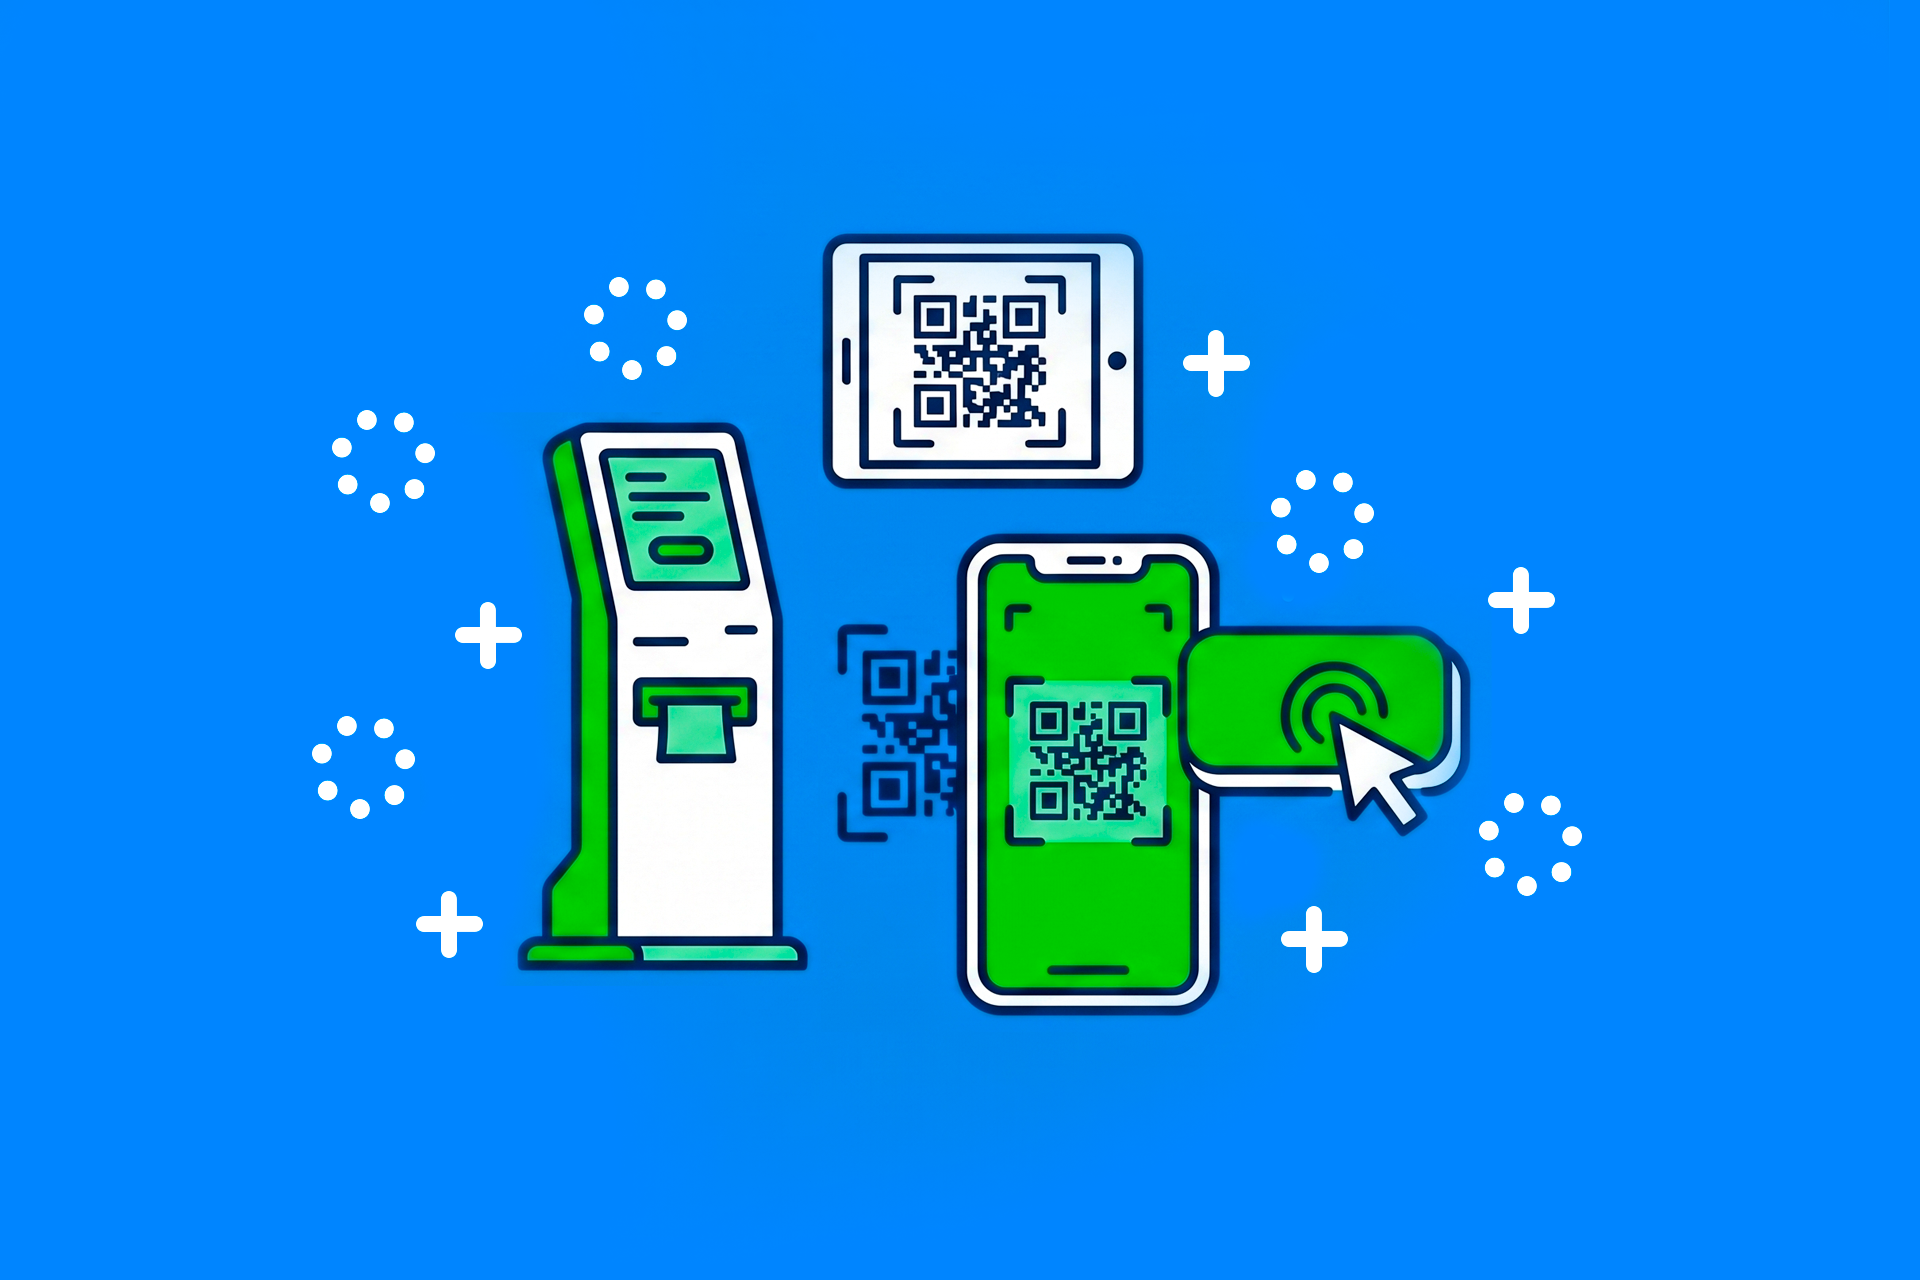
- Attendees interact directly with the kiosk, usually scanning their ticket’s QR code or entering information like email or ID number to confirm attendance.
- Check-in is validated automatically by the system, with no manual work needed from staff.

With this process, you can reduce the number of people needed on the check-in team, keeping only the staff essential for guiding attendees who have questions.
This frees up more time and staff to focus on other parts of the operation, such as organizing materials, receiving vendors, on-site registration, technical support, and more.
Types of check-in for events
| Check-in type | How it works | When to use it |
|---|---|---|
| Manual check-in | A staff member confirms attendance against a printed list | Suited for small events or those with low attendee flow |
| Online check-in via button | Staff enable a check-in button at a strategic moment during the broadcast, and attendees check themselves in with a single click | Ideal for online events with stricter attendance control |
| Automatic online check-in | Check-in is recorded automatically when the attendee joins the online broadcast | Recommended for online events without strict attendance control that still want to issue certificates |
| Check-in app | Staff use an app to scan QR codes and record entry on the spot, even without internet | Ideal for all in-person events that want to reduce lines |
| Self-check-in | Attendees check themselves in at a self-check-in kiosk or on their phone, without relying on an operator | Suited for events with a large volume of attendees, or those that want a faster, more autonomous and efficient entry |
Main benefits of self-check-in
Fewer lines
Since check-in happens independently and simultaneously at multiple kiosks, wait time at the entrance drops considerably.
Less need for staff
With self-check-in, you can reduce the number of people dedicated exclusively to check-in, redirecting the team to other strategic tasks.
Faster entry
The process becomes much faster than manual check-in, since it eliminates steps like typing in data and looking up attendee information.
Accurate certification
Check-in is essential for issuing certificates only to those who actually attended the event.
Self-check-in ensures not only certification for attendees, but also certificates with accurate data, since attendees fill it in themselves.
A more modern attendee experience
Offering autonomy at check-in conveys a sense of organization and innovation, positively impacting the event’s first impression.
Real-time data
Organizers can track, instantly, how many attendees have already checked in, making operational planning easier during the event itself.
How to implement self-check-in at your event
Implementing self-check-in is simpler than it seems, but it requires planning to make sure everything runs smoothly on event day. Here’s the step-by-step:
1. Choose a reliable check-in platform
First, you need a platform that offers specific features for check-in and lets you automate the process of getting attendees in the door.
So, when evaluating the options available, look for solutions that offer features such as:
- online registration;
- individual QR code issuance;
- self-check-in screens;
- real-time check-in tracking;
- badge printing (when needed);
- attendance reports.
There are even options on the market that offer all of this for free, like Even3.
2. Set up your self-check-in environment
After choosing a platform, it’s time to prepare the operation.
On Even3, for example, all you need to do is access the self-check-in screen and log the devices in at the event’s reception area.
These devices can be:
- tablets;
- laptops;
- desktop computers;
- touchscreen monitors (when available).
An important advantage is flexibility. Depending on your event’s setup, you can set up anywhere from a single service point to multiple self-check-in kiosks spread across the venue.
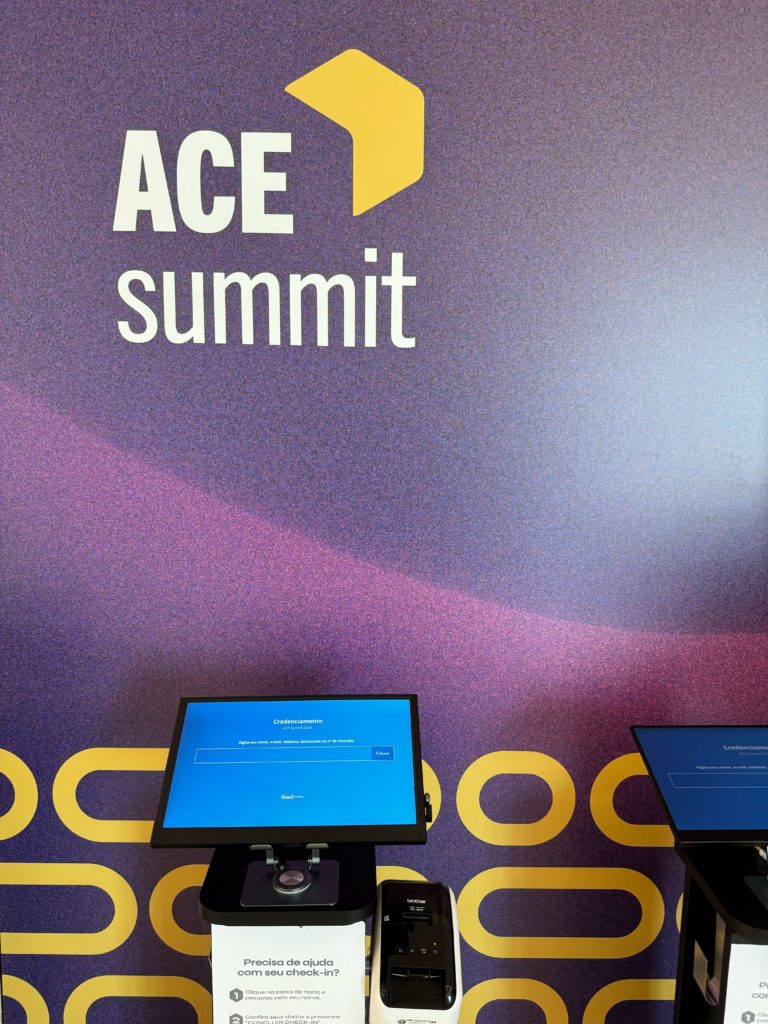
The bigger the expected attendee flow, the more devices you should have available to avoid lines.
3. Plan the entry flow
Technology makes all the difference, but it needs to be paired with good operational planning.
Before the event opens, define what attendees’ journey will look like from arrival to accessing the activities.
A few questions help with this planning:
- Where will the kiosks be positioned?
- Will there be separate lines for self-check-in and assisted check-in?
- How will attendees be guided?
- Is there enough space for people to move around?
- Does the venue have adequate internet access and power?
Planning this flow ahead of time avoids bottlenecks and makes the process much more intuitive.
A good practice is to position the kiosks right at the entrance, in easily visible spots, using signs or banners that clearly indicate where and how to check in.
4. Train a support team
Even with the process automated, it’s important to keep a few staff members guiding attendees, especially in the first few minutes of the event, while the audience is still getting familiar with the system.
5. Test the process before the event
Finally, run a self-check-in simulation with the team before the doors open. This helps identify any needed adjustments to connectivity, kiosk placement, or the chosen platform’s setup.
6 best practices for self-check-in at events
1. Prioritize an intuitive interface
The self-check-in kiosk should have a clear screen with straightforward instructions. The fewer steps attendees need to follow, the faster check-in at events becomes.
2. Signpost the space clearly
Use signs, banners, or digital signage indicating where the kiosks are and how to use them. This reduces confusion and keeps attendees from standing around not knowing where to go.
3. Guide attendees even before the event
A good experience starts before people arrive at the venue.
Use registration confirmation emails, reminders, and messages sent to attendees to explain how check-in will work.
Include information such as:
- where to find the QR code;
- required documents (when applicable);
- recommended arrival time;
- how self-check-in works.
When attendees already know what to expect, the process goes much faster.
4. Have a backup plan for exceptional situations
As efficient as self-check-in may be, the unexpected can happen.
So it’s a good idea to keep the team ready to solve problems, such as an internet outage, for example.
For these cases, a check-in app can keep self-check-in moving at a good pace, while keeping control in your team’s hands.
On top of that, check-in apps like Even3’s also perform offline check-in, saving your event if the internet goes down!
5. Use the data to improve future editions
One of the great advantages of using a check-in platform is being able to track important indicators during the event.
For example, attendance data will be essential for understanding turnout and improving engagement in future editions.
6. Turn the kiosk into a smartphone self-check-in
While using tablets and computers as self-check-in kiosks is the most common format, there are creative ways to use this technology to make the process even more practical.
For example, you can share the kiosk’s own link through a QR code displayed on a screen, banner, or slide at the end of an activity.
In this scenario, the flow works as follows:
- The organizer generates a QR code with the self-check-in kiosk’s link.
- That QR code is displayed to attendees.
- Each person points their phone’s camera at the code.
- The kiosk’s link opens automatically on the smartphone.
- Attendees check themselves in without needing to walk over to a physical device.
In practice, the self-check-in kiosk stops being limited to a computer or tablet and starts working directly on the attendee’s own device.
That’s why this strategy is especially useful for events with smaller teams.
Besides expanding the ways self-check-in can be used, this format makes the operation even more flexible and scalable, reducing the need for physical equipment and making it easier to track attendance.
If you want to offer a faster, more organized, and more technological entry experience, it’s worth using a platform that brings all these features together in one place.
With Even3, you can manage registrations, run check-in, offer self-check-in kiosks, track event check-in in real time, and much more.
This way, your team gains more time to focus on what really matters: delivering a memorable experience from start to finish. How about getting started now?