Do you know how to point people to the right spaces at your event? I know, it sounds like such a simple thing. But it can impact everything!
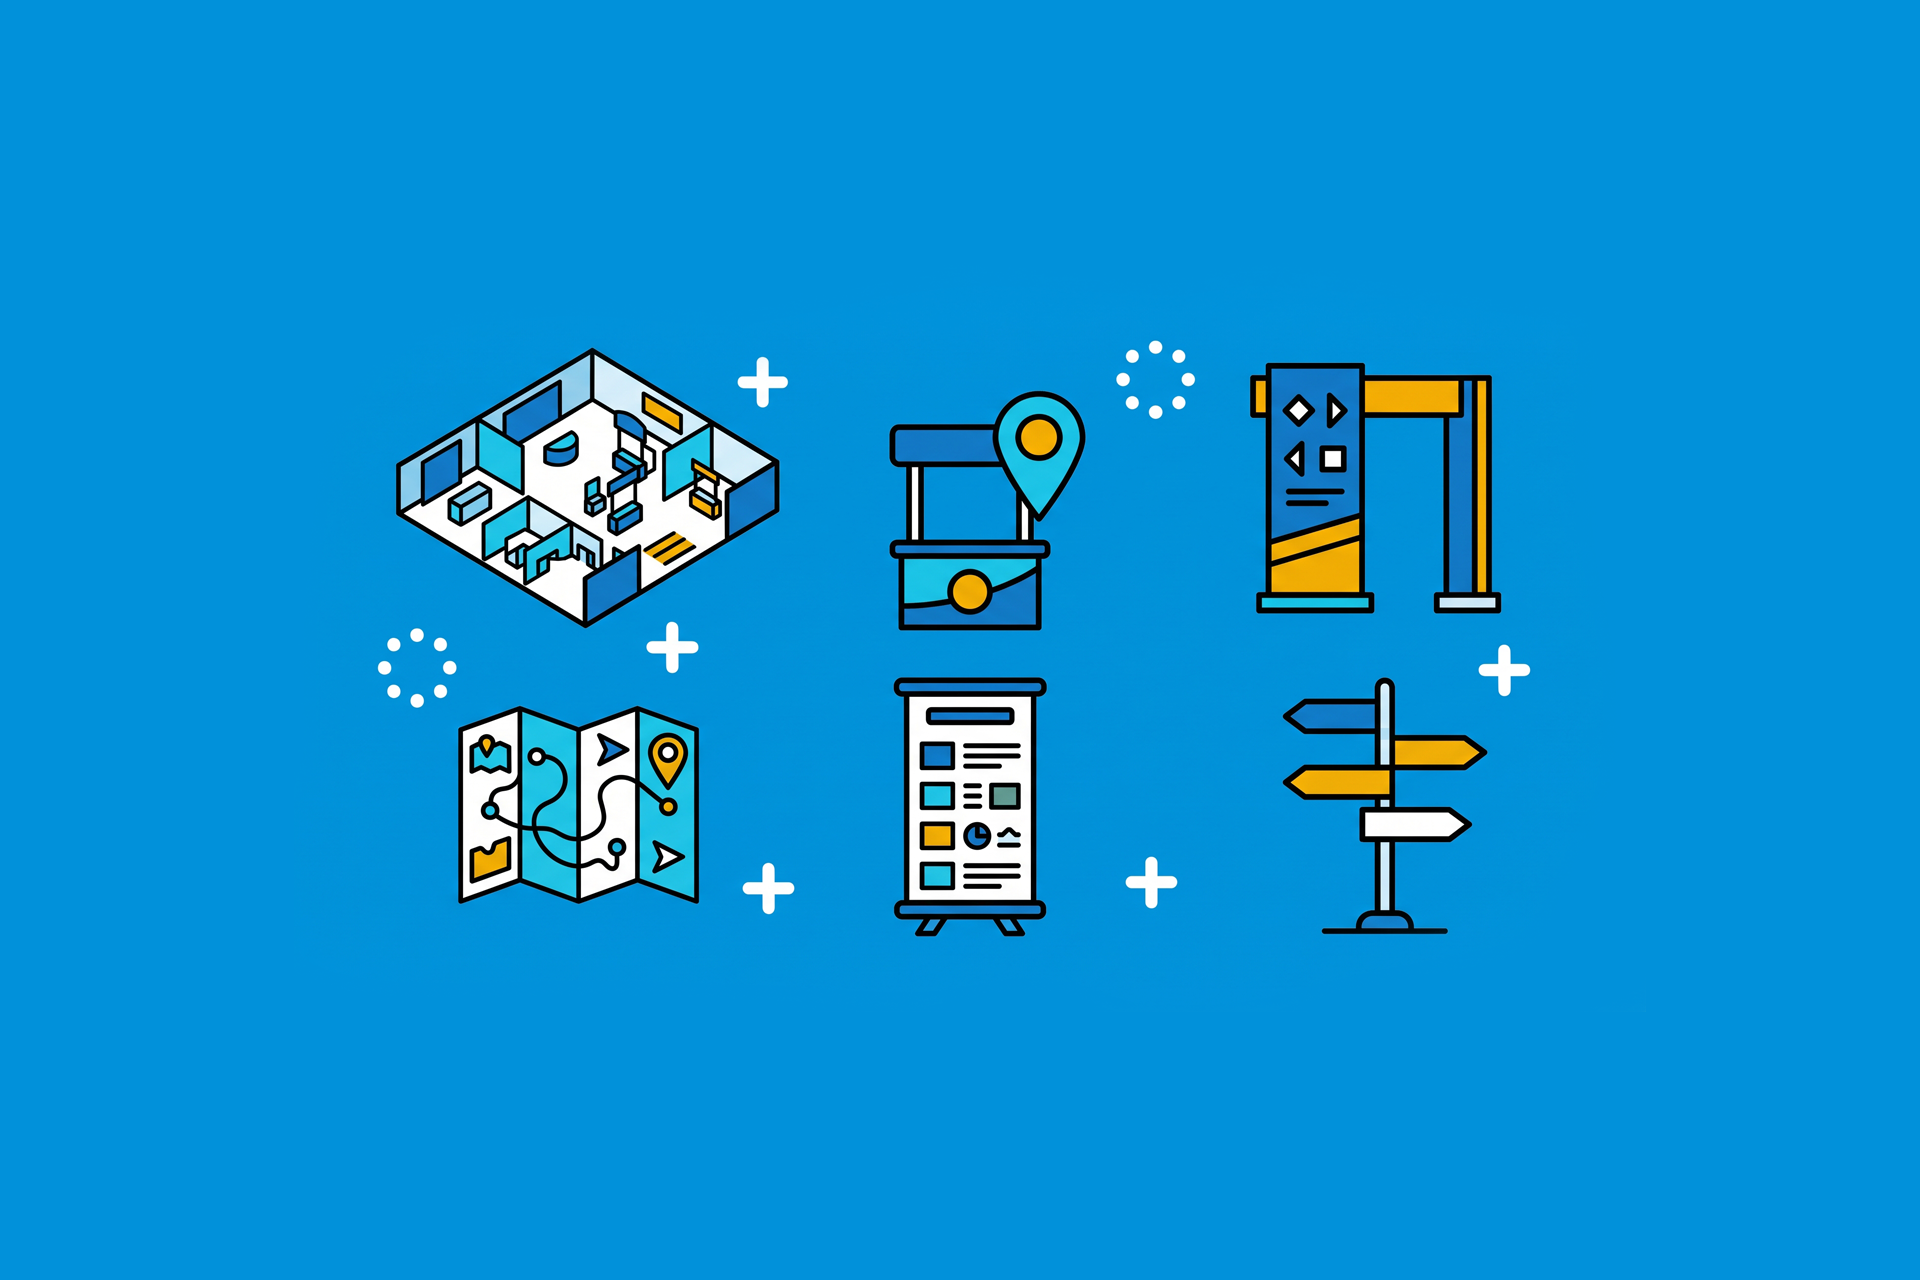
Event signage is the set of signs, totems, maps and visual pieces that guide attendees from the entrance gate to the exit. Without anyone having to ask, it answers three basic questions: where am I, where am I going and what happens here.
But not everyone knows how to do signage well! That’s why I’m going to show you:
- The 5 types of signage every event needs;
- The step-by-step process to plan each one;
- What changes between a congress and a trade show;
- Which Brazilian standards you need to comply with.
What is event signage and why does it define the attendee experience?
Event signage is the system of visual pieces that guides attendees within the event space.
It brings together:
- Directional signs;
- Totems;
- Maps;
- Room identification;
- Emergency notices and accessibility markings.
And all of it in a single visual language, from the gate to the exit.
But a single sign on its own isn’t signage, okay? Signage is a set of pieces that talk to each other: the same color, the same font and the same naming logic at every point along the way.
And why does this matter so much? Because every unanswered question becomes a cost. One lost attendee takes up someone on your team. Then ten lost attendees in the same hallway become a line. And a hundred become a room that starts fifteen minutes late.
There’s also the effect on perceived quality. Nobody consciously evaluates signage. But everyone feels the difference between an event that flowed and one where they had to ask four times where room two was. In the end, that feeling is what shows up in the post-event evaluation.
The 5 types of event signage
Every event works with five types of signage. And each one answers a different attendee question. That’s why none of them replaces another.
Directional signage
It answers: where am I going? It’s the type that saves your team the most time.
The rule is simple. Place a piece at every point where attendees need to choose a path. And use one arrow and one destination per line.
For example: an arrow to registration, a hanging sign pointing to the rooms, a totem pointing to the food court.
Informational signage
It answers: what happens here and when? It’s the type that changes the most at the last minute.
So plan at least one spot with a swappable display. A board, a panel with an acrylic sleeve or a screen will do the job.
For example: the day’s schedule, session times, a venue map, a room change notice.
Identification signage
It answers: where am I? It seems obvious, but it’s the one that causes the most confusion.
The classic mistake looks like this: the schedule calls a space Room 2, while the sign on the door calls it the Blue Auditorium. So standardize the names before producing any piece.
For example: a door sign with the room name and number, booth numbering, identification of the poster area.
Emergency and accessibility signage
It answers: how do I get out safely? This type isn’t a design choice, it’s a legal requirement.
And it must be continuous. In other words, no stretch of the route can be left without a visual reference.
For example: a photoluminescent emergency exit sign, an accessible route, an adapted restroom, a first aid point.
Institutional signage
It answers: who is running this event? Besides reinforcing the brand, it gives visibility to sponsors.
So treat each spot as a commercial asset. These spaces are usually described in the sponsorship contract, with a defined location and size.
For example: an entrance arch, the stage backdrop, a welcome totem, a panel showing the sponsorship tiers.
How to plan event signage in 7 steps
1. Draw the floor plan and mark the decision points
Take the venue’s floor plan. Then walk through it with your finger, like an attendee arriving for the first time.
Mark with an X every point where they need to choose a path. Each X becomes a directional piece. This exercise usually reveals many more points than an estimate made off the top of your head.
2. Map the attendee journey
After the points, think about the moments: arrival, registration, circulation, sessions, meals and exit.
Each stage calls for different information. On arrival, attendees want to know where to check in. While circulating, where the next room is. And on the way out, which exit to take and where to catch transportation.
3. Define the message for each piece
Write the exact text of each sign in a spreadsheet. And do it before talking to any supplier.
One piece of information per sign. Names identical to those in the schedule and the app. That way you eliminate the biggest cause of rework: naming confusion.
4. Choose formats and materials
The decision depends on three factors: reading distance, exposure time and environment.
Totems and floor banners work well in open halls. Door signs and stickers work for enclosed spaces. And for outdoor areas, consider wind and rain when choosing the material and the base.
5. Put together the supplier brief
Deliver everything in a single document: the floor plan with numbered points, the list of texts, the dimensions of each piece, the quantity per item and high-resolution brand files.
A complete brief shortens production time. It also avoids a second round of artwork approval.
6. Produce with time to spare
Leave a comfortable buffer between artwork approval and delivery. And finalize the text for fixed pieces before that.
The pieces that change go into the last possible batch. That’s the case for the schedule and notices.
7. Install, test and maintain
Install the day before. Then walk the entire route as an attendee, paying attention to height and readability from a distance.
During the event, assign someone to check the pieces twice a day. Because a fallen sign is a silent problem: nobody reports it, and everyone suffers.
And bring a contingency kit with double-sided tape, an extra stand, blank sheets and a permanent marker. A missing sign always turns up. Solving it in two minutes is much better than solving it in two hours.
Signage by event type: congress, trade show and corporate
The event format changes what needs to be signposted. See where the critical point is for each one.
| Congress or scientific conference | Trade show | Corporate event | |
|---|---|---|---|
| Main challenge | Time: what happens in each room and at what time | Space: finding a specific booth | Context: identifying the event inside a building that is usually shared |
| Essential piece | Schedule in the hall and at the door of each room | Aisle numbering placed high, visible from afar | Continuous directional trail from the lobby to registration |
| Support piece | Numbered poster index at the entrance to the area | Map at the entrance with exhibitors in alphabetical order | Event identification right at the building’s reception |
| Most common mistake | Room name differs between the schedule and the door | Numbering with no visible logic along the aisle | Signage only at the entrance, nothing along the way |
| Area left without signs | Poster session and speaker room | Exhibitor registration and storage | Support room, coffee break and parking |
| Piece that changes most the day before | Schedule | List of confirmed exhibitors | Breakout room names |
Accessibility and standards in event signage
Part of event signage isn’t a design choice. It’s a legal requirement. And in Brazil, three references guide what you need to comply with.
ABNT NBR 9050: accessibility
ABNT NBR 9050 covers accessibility in buildings, furniture, spaces and urban equipment. And it places signage within accessibility, not as a separate item.
In practice, it requires four things: contrast between text and background, letter size proportional to reading distance, a universal pictogram next to the text, and tactile or Braille information at permanent identification points.
ABNT NBR 16820: fire safety
ABNT NBR 16820 defines fire and panic safety signage. In other words, it rules the format, color and photoluminescence of the signs.
And the central requirement is continuity. The escape route must be indicated from beginning to end, with no stretch lacking a visual reference.
AVCB: Fire Department clearance
The AVCB (Auto de Vistoria do Corpo de Bombeiros) is the Fire Department inspection certificate that authorizes a venue to operate, and it’s usually required for the event permit. Emergency signage is part of the inspection.
If your event uses temporary structures, such as tents, stages or bleachers, they’re also assessed in the safety plan. So check your state’s requirements well in advance. Review times vary a lot between state fire departments.
And it’s worth remembering something simple. Accessible signage doesn’t only serve people with disabilities. High contrast and large letters help anyone in a hurry, in a crowded hallway, reading from a distance.
Signage that isn’t a sign: map, app and badge
An important part of event signage isn’t printed. It’s on the attendee’s phone and around their neck. And it has an advantage no sign has: it changes in real time.
A searchable schedule
When attendees open the schedule on their phone, they see room, time and topic in one place. That way, they no longer depend on physical signs to find their way.
And this reduces crowding in front of the rooms, which tend to be some of the most congested spots at the event.
In this case, an event app can make all the difference! For example, your attendees can build a personal agenda with the activities they want to attend, see the rooms where they’ll take place and view the event map.
Event map
Speaking of maps, they’re essential to the attendee experience, especially at large events.
Providing an online map gives your attendees autonomy and safety.
And maps can change depending on the event.
At trade shows, they’re essential because they show where each booth is. At online events, they’re even digital.
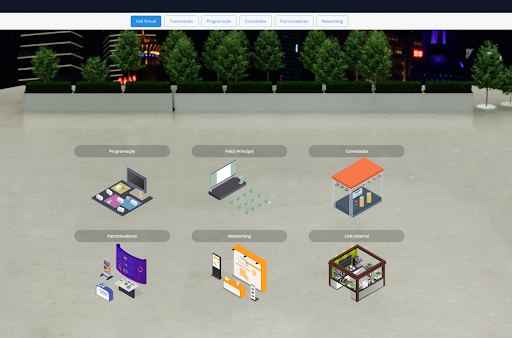
And at talks, they can even include a seating chart that lets attendees choose the best seats in advance. Make the most of the different formats!
The badge
The badge is the smallest piece of signage at your event. And also the most underrated.
It identifies the person, of course. But it can also signal their profile by color or stripe: attendee, speaker, exhibitor, staff, press. This speeds up access control to restricted areas. Plus, attendees recognize each other and network more easily.
And there’s a use few organizers explore: the badge as an interaction tool. Its QR code turns every encounter into a trackable action.
Here are some ways to use this to your advantage:
- Check-in at activities by scanning the QR code, which records attendance automatically and serves as the basis for the certificate
- Contact exchange between attendees, scanning badges instead of swapping business cards
- Gamification through visits, where attendees collect points as they stop by booths or sessions
- Raffles and prizes linked to those who completed a route or took part in certain activities
That way the badge is no longer just identification. It becomes the thread that connects physical circulation to audience engagement.
The golden rule
Finally, in event signage, digital complements physical, but never replaces it. Because phone signal drops, batteries die and not every audience is equally familiar with apps. So signs remain your safety layer.
And notice what ties all these pieces together: information. The room name, the activity time, each registrant’s profile. When this data is organized in one place, writing the text for each sign becomes a half-hour task.
That’s the starting point Even3 gives you. You build the schedule, set up activities, organize registration and issue badges on the same platform. This gives you a single source of names and times to feed all your visual communication, from the app to the door sign.
Create your event on Even3 for free and have the foundation ready before closing your signage budget: