Creating an attractive event website is now considered the key to attracting more participants and increasing registration sales. But wait — you might be wondering what an event page even is. It’s nothing more, nothing less, than a website! Every organizer needs to keep in mind that a participant’s first contact with an event happens on its website, since that’s where the audience registers. That website or event page needs to contain the necessary information and, above all, be attractive and easy to understand.
How Can an Event Platform Help?
With Even3, you can customize your event page dynamically and intuitively, making life easier as an organizer. You can, for example, change your event page’s look and information like registration, submissions, speakers, and more. Even so, many organizers still get the event page wrong — here are 6 tips to help you avoid that.
1. Create a Visual Identity
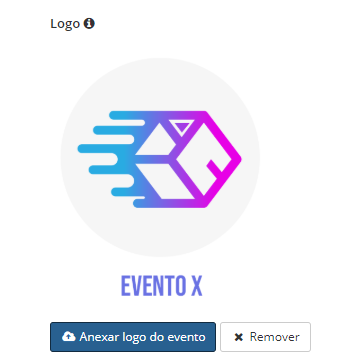
The first thing you need to do is create a logo for your event. It will be the image and the first contact your audience has with your event. A logo can be just a symbol, a name, or a symbol paired with a name. You need to add it across every digital channel your event has, like social media, and also in your event’s settings on the platform. Go to your event on Even3, click “settings” in the menu, then “event” — at the bottom of that tab, you’ll find the option to add your logo.
2. Talk About Your Event
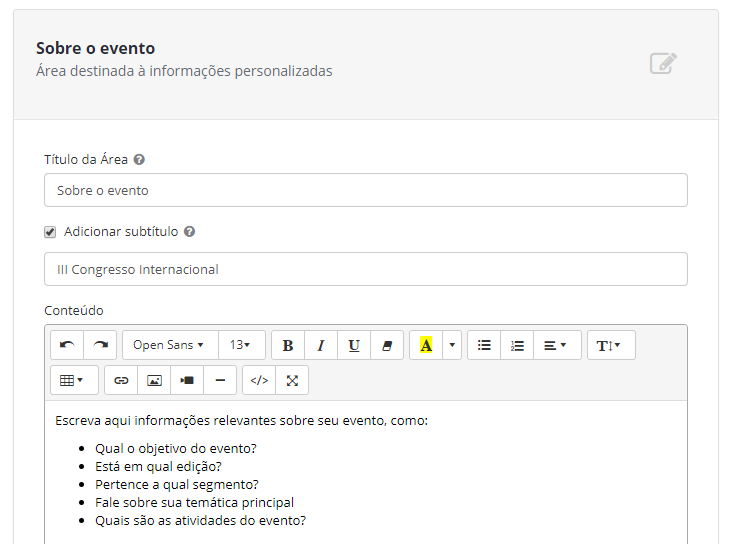
Many organizers think an event website is just a channel for selling registrations — that’s where they’re wrong! An event website or page is more than a sales channel: it’s also a communication channel. It brings the organization closer to its audience, answers questions, and talks about the event. On the Even3 platform, in the organizer area, you’ll find a menu option called “event page,” where you can customize all the information about your event for the public — the event’s purpose, theme, current edition, and other relevant details you want participants to know. It’s also important to broadly describe the types of activities your event will have, like talks, workshops, and panel discussions.
3. Add Details for Each Activity
Many organizers forget to add information about the event’s own activities, which hurts the participant experience. When someone decides to register for an event, the first thing they do is check the schedule — what activities, topics, and speakers there will be. So it’s important to describe what each activity will cover and who the guest or moderator will be. For example, if your event has a talk on Customer Success, share details on what the speaker will cover — will they discuss key metrics, or give a broader, beginner-friendly overview? All of this needs to be clear for your audience. On Even3, you can display these details for each activity: just go to your organizer area, click “schedule,” then “activities,” and add the information.
4. Add Relevant Information
For medium and especially large events, some things are limited to attendees due to the flow of people during the event. A common example is limiting how many activities are included for participants who registered, since some events have paid activities separate from the registration fee. This can create confusion, so it’s important to state these restrictions clearly on your event page — that way participants know exactly what they have access to just by registering. To share more detailed information like this, organizers can add a subtitle to each category provided by the platform in the “event page” menu, noting any restriction your event may have.
5. Create Alerts on Your Event Website
One popular marketing strategy for large events is adding a banner to the website. This banner works like a window highlighting an important notice to catch the audience’s attention — for example, warning that the registration or submission deadline is closing soon, if your event has that feature. To do this, just click the “alert” option inside the “event page” tab on the platform and add the message you want. This creates a sense of urgency for participants, encouraging them to submit their papers or register sooner.
6. Promote Speakers and Sponsors
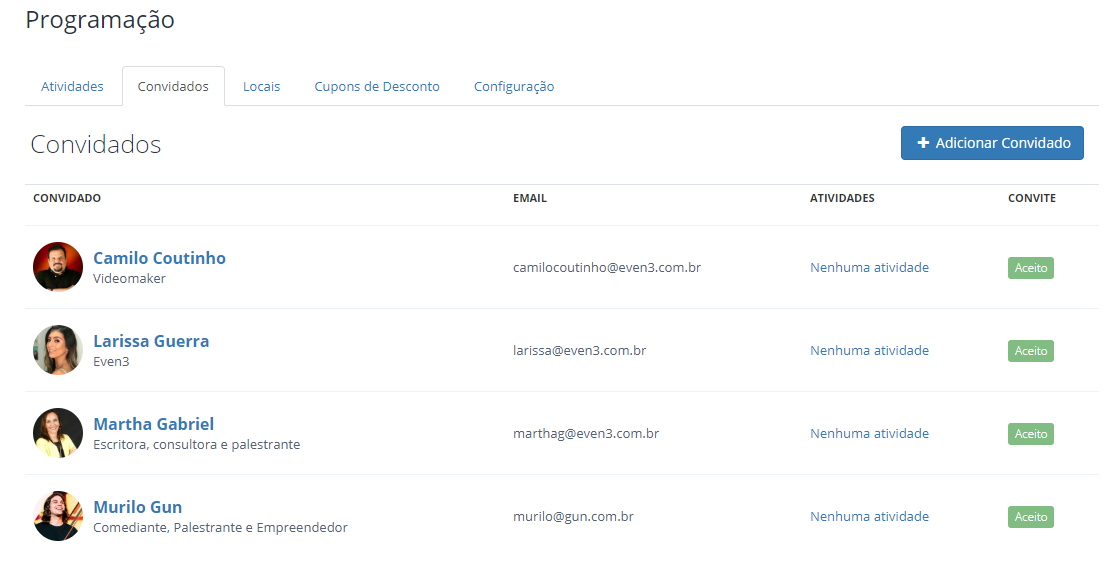
One factor that can make your audience even more interested in your event is promoting your speakers. Some professionals already have a recognized name in the market, and simply featuring their image and name shows the relevance of your event — being well known in their field, these professionals can attract even more of an audience. To promote your event’s speakers, go to the “schedule” tab in the platform menu and click “guests.” There, you can add a speaker, enter their email, and link them to the relevant activity. Then, in the “event page” menu, under the speakers category, you can make the information you added about them visible.
It’s also very important to promote your event’s sponsors on the website — just go to the “sponsors” category and add their information the same way.